Find out how to invite a user and manage the user access perimeter on the Security Rating®.
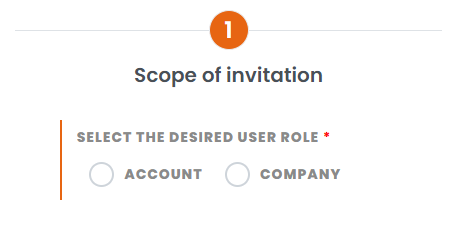
Once logged into the account desired on the front office, click on “Users” under the Burger Menu at the top right of your screen. Then on "Invite a user", you can then select the desired invitation scope.

Adding a user is exclusively reserved for account or company administrators.
1. Invite a user to the Account scope :
Choose the "Administrator" or "User" rights level:
- An Account Administrator will be able to modify the map, validate the map and add other users.
- An Account User has a read-only view
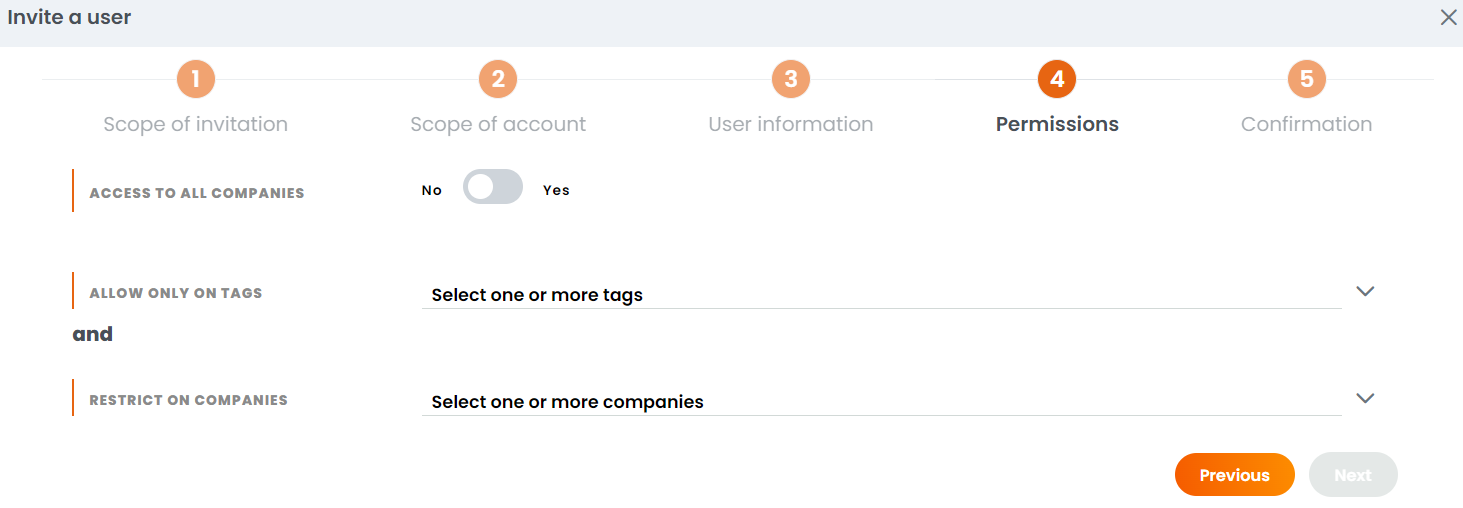
If your guest needs to have access to several companies, invite him under the Account scope, then the guest's permissions can be chosen by company and/or by tag. They will then have access to the desired companies and not to all the companies on the Account:

Shift the "Access to all companies" choice to "no" and select the tags and/or companies. (For more information on the use of tags, click here).
2. Invite a user to the Company scope :

Choose the company to assign.
Choose the right level: "Administrator", "User" or "Survey contributor".
For more information on user roles and rights levels, click here.
Fill in the details (first name, surname, email address, default language) then confirm. The new user will receive an email inviting him/her to connect to the platform. She/He will need to initialise their account if this is the first invitation to the Security Rating platform.
Editing or deleting
Editing access rights of a user created is possible by the same "Users" tab. Under the "Action" header on the right, click on ![]() to modify user's rights, or click on the icon
to modify user's rights, or click on the icon ![]() to delete the user.
to delete the user.

